Sunday, December 31, 2006

Goodbye 2006

Time seriously flies by too fast. It seems like only yesterday that we were *worried* about Y2K and such and now here we are headed into 2007. I am so excited because as my kids grow - they are becoming more and more interesting and fun. I am also excited because new years always make me feel more motivated to be a better person and to make something out of myself.

I have had the goal to be published for a long time, but I have been letting the "no" responses get me down, and I have been letting myself slack off and forget about my goals, but this year, I want to make myself a better person and accomplish some of my goals. I am tired of my bad attitude and my big butt and I am going to work on them both. And, I am going to work on submitting to one design call a month, whether that be with SU or whomever. I want you all to hold me to it each month -- check in with me and make sure I am behaving.

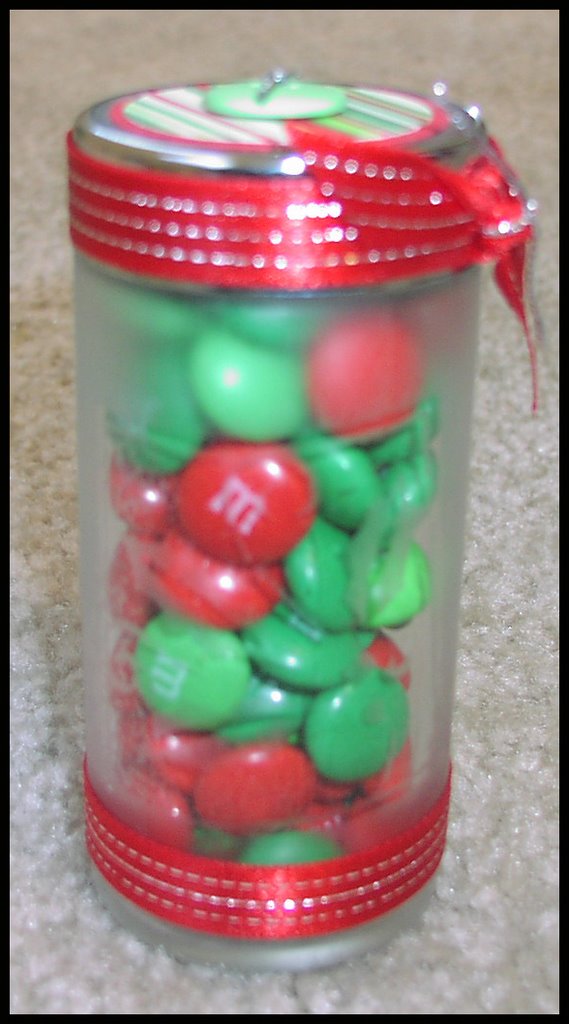
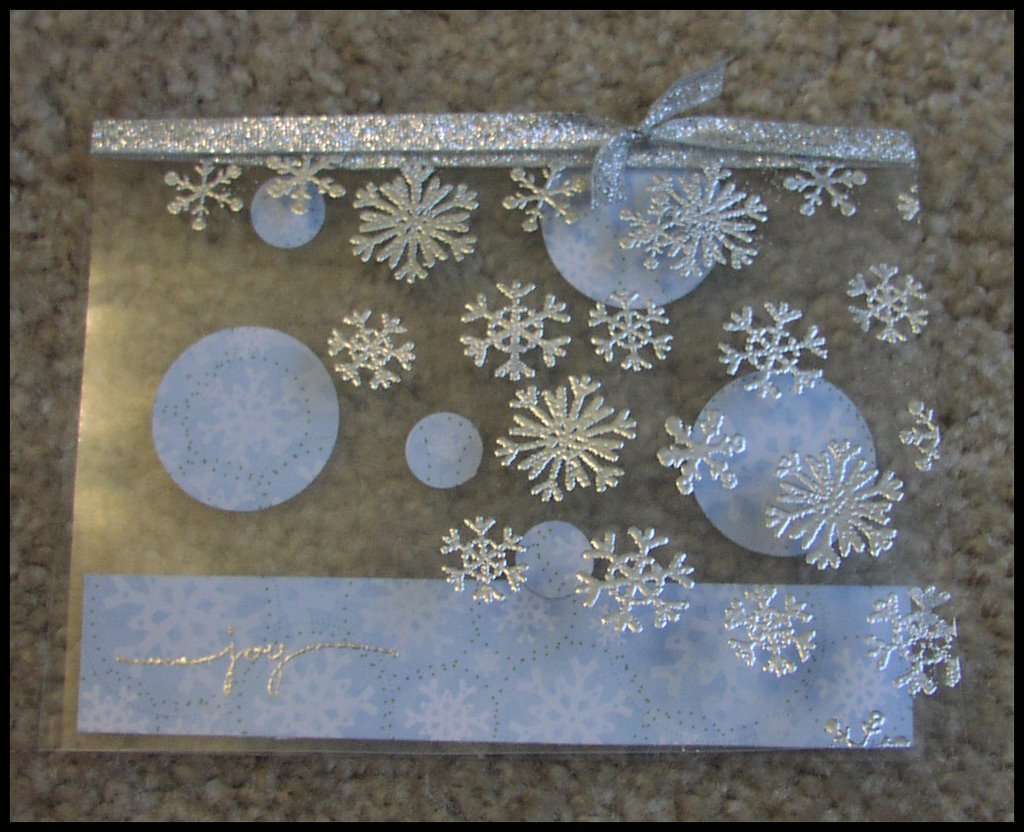
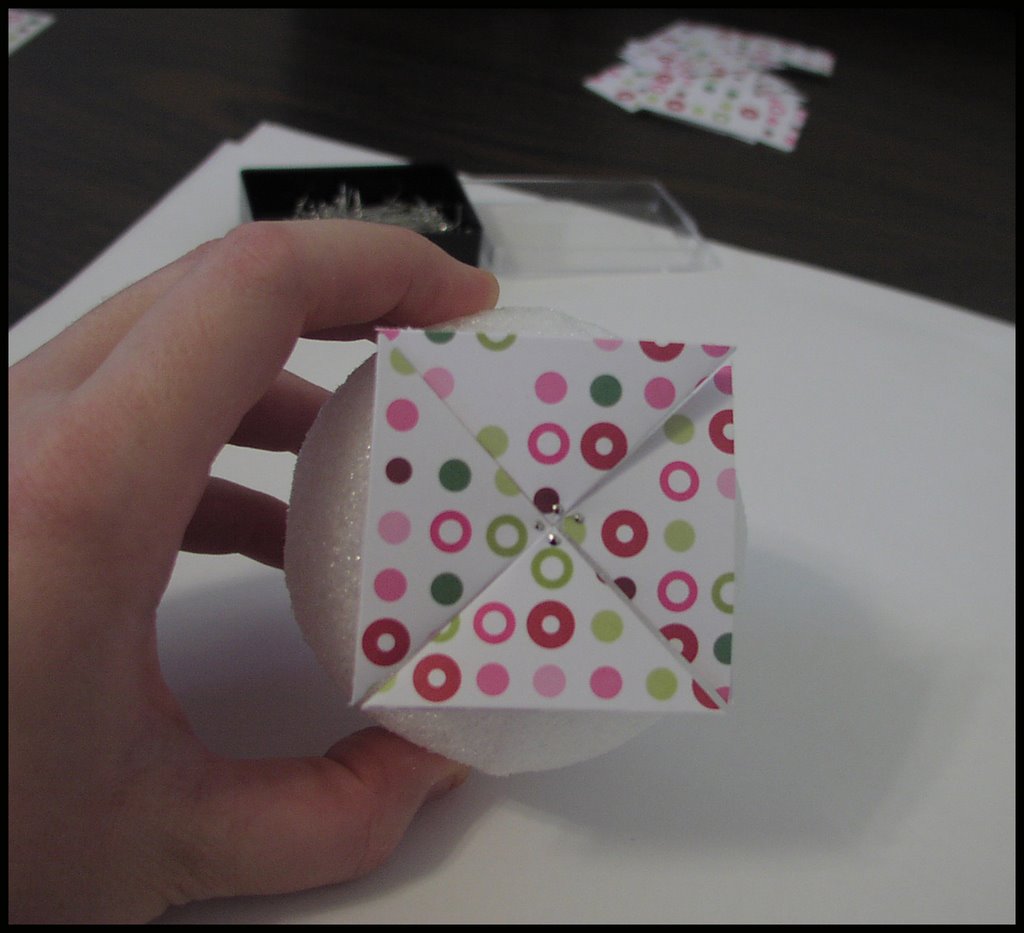
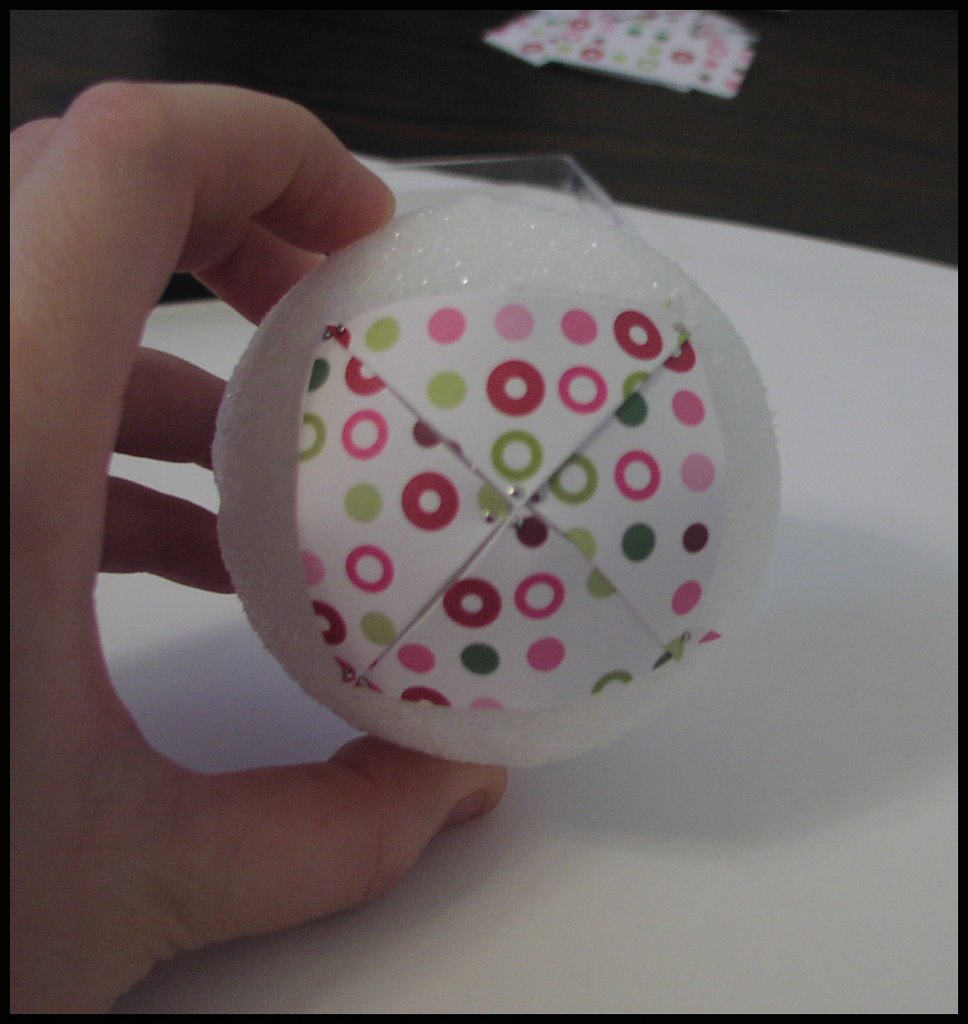
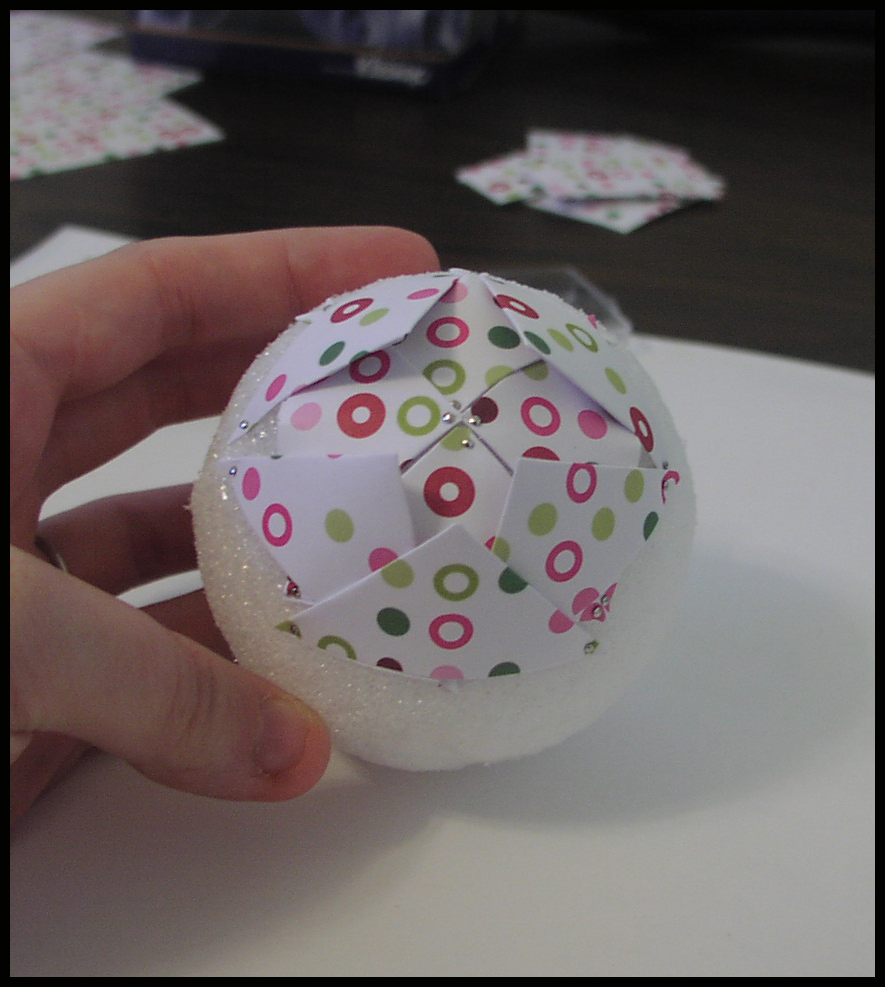
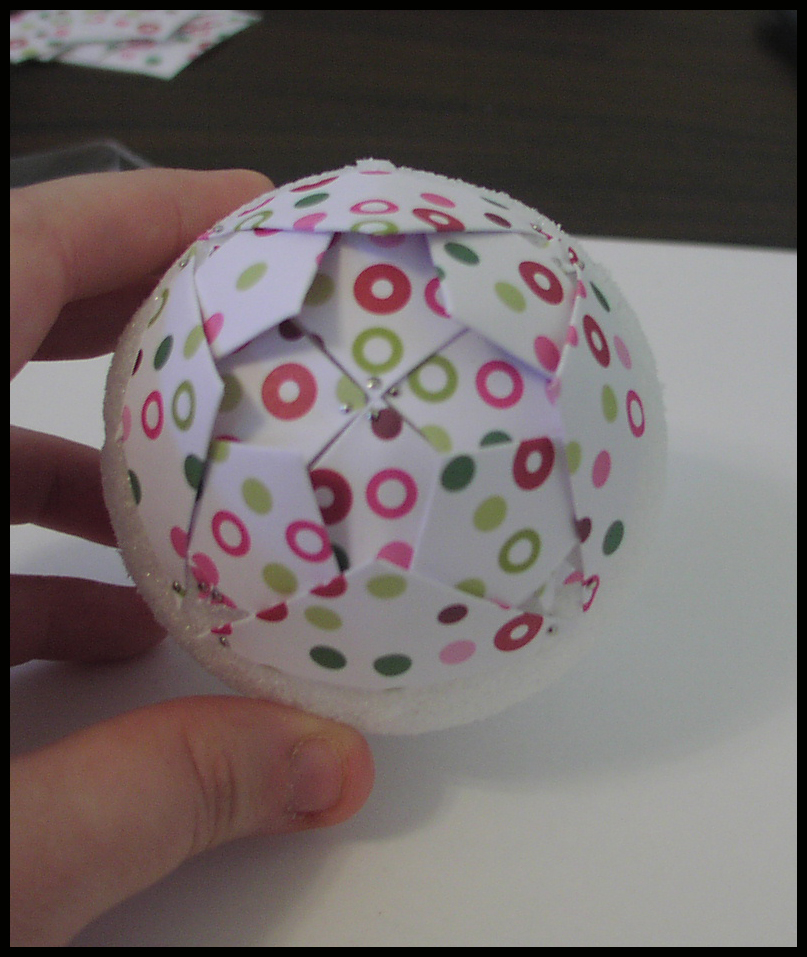
M decided he wanted to play video games for a bit, and no doubt that is how he will bring in 2007 (he has a small addiction) so I am thinking that there is no better way for me to bring in the new year than to stamp, and so, that is what I am off to do.

Oh, and in case you did not notice, I am working on creating a new banner for 2007 -- this one is my "so far, so good" one -- I plan to add pictures to it when I get there. Thanks for all your support stampers! Much love!
Glitter Graphics, Myspace Graphics, Dress Up Games, Cartoon Dolls from Dolliecrave.com

Saturday, December 30, 2006

Saturday - Life Skills - Riding a Bike


Ah the joys of a Saturday, you get to sleep in, eat a big breakfast and play all day . . . well, except in my family. The kids woke up bright and early this morning and we skipped the big breakfast and opted for cinnamon rolls (pillsbury), juice and fruit. Then we decided to get some of the stuff done that we have needed to do (like put beds back in the right rooms, and strip off all the sheets from the guests we had, and clean up the toy mayhem). And finally, after all of that got done -- it was time. E and J have been wanting to test out their new bikes all week. I have been so busy trying to keep up with the chores around the house that needed to get done, I had not been able to take them yet -- but today, they got to go. Picture1: Getting ready to go. Picture 2: Man to man talk about this bike riding thing with dad. Picture 3: E figuring out how to push the pedals. Picture 4: I think I can, I think I can. Picture 5: E does it all by herself. YAY!


Housebreaking a Puppy - HELP ME!!!


Training is not going so well for us here. Dobby just does not seem to get it. I am not sure what to do at this point since he just misses the concept completely and I am so frustrated with all his piddling and pooping on the carpet. So today I just decided that if he is going to act dumb and pee on the carpet all the time and not even try to make it outside, then he can wear a diaper. Any ideas on housebreaking him would be greatly appreciated. I love him to death but seriously he is the dumbest dog ever. Oh, and that is the funny part, DH wanted a poodle cross because poodles are smart . . . Bwahahahahahaha!


It brings new meaning to "pampered pooch" eh?

Wednesday, December 27, 2006

A Quickie Tip and My Christmas Card

I am behind with sending out my Christmas cards this year, so I thought I would post this cool idea so those of you who have to send some still can use it, or if you are not a mega procrastinator like me, you can remember it and save it to use next year.

TIP of the YEAR: Use your aquapainter to "lick" envelopes when stuffing cards for any occasion. It makes you not have to taste it and it works AWESOME!!!!

So, there you have it! Here is a of what I am sending out today -- a few days late, but better late than never . . . *grins* You can see the Lily Kate Card I made here.

This card has handsome hunter stamped with canvas layered on a white background. Then I stamped and embossed the holly from SU "Happiest of Holidays" and then layered that on white after cutting it out. Then I punched three holes and set three eyelets (all using my silent setter from provocraft and done while my kids and hubby were sleeping -- that thing is a Christmas miracle if I have ever seen one. You can buy it here.) I used real red on some and these ones were baroque burgandy. I was really happy with the simplicity of this card, but how pretty it looks in real life. I think the gold cord helped spiff it up!

Sunday, December 24, 2006

Merry Christmas to all . . .

It has been a very busy past couple of days. My mom and my sister, V, arrived on the 20th. My mother in law, father in law and sister in law arrived on the 23rd. Needless to say, in my 1600 square foot home, we are a packed house. My kids are sleeping on mattresses on my bedroom floor. It is crowded, but quaint and comfortable. We had a chance to go look at the lights at the Mesa Arizona Temple of the Church of Jesus Christ of Latter Day Saints. We got to go to Zoolights at the Phoenix Zoo. We got go see Ballet Arizona perform "The Nutcracker" and we got to have lots of fun family meals together, and some family game time. It has been interesting as usual. Family is rarely boring *smiles* M is putting together some last minute items and my mother in law is sewing together our pajama pants because we got busy doing other stuff and I kind of neglected my yearly task. The children are nestled all snug in their beds with their new pajama pants on . . . J is asleep and I am waiting for E to drift off to I can go peel veggies and do some other tasks that need to get done tonight.

I managed to get a bunch of christmas cards stamped, but as usual, I have not posted them yet. I am always behind. Anyway, that is going to be my new years resolution I think - to be on time. I will send them out --

Christmas dinner tomorrow should be a blast. We are having turkey this year, with all the fixings. YUM! I cannot wait. Even though it will be a chore to prepare -- it will all be worth it in the end. I hope that you and yours are experiencing the joy of the holiday season. I will be back in action about the 27th, so you can expect more frequent posts from me. Sorry that this month has been so sporadic. MERRY CHRISTMAS!

Saturday, December 23, 2006

Zoolights


We went to Zoolights in Phoenix. We had planned to go on a Friday night, but then it rained all day Friday (rain in Phoenix, the nerve). We ended up going Saturday night, which was MAYHEM! They had a place that you could park and take a shuttle to the zoo. Well, one look at the shuttle line up and we knew we were walking -- much to the dismay of M's parents. Poor things. My mom did not fare so well either. It was a workout for her. We had pre-bought our tickets so we just had to go pick them up at "will call" and then walk up to the gate, rather than wait in line at the gate (one major bonus if you saw that line). Once inside, it was still a little crowded and crazy. We took the kids for some carousel rides, and then walked around the zoo. We got to see the talking giraffe (which was a giraffe they made that had someone walking around and you could tell that someone your kids names and such and they would say hello (as the giraffe). A really cool idea. Then we saw pretty lights on the lake (like Bellagio fountain style -- they danced to christmas music). We ate peppermint chocolate candy sticks.
Then we came across a place that they had camel rides. I decided J was too young, but E and her two aunts could go. So, we sent them on the ride and got a picture. It was $5 per person and $5 for a picture -- so they were making a killing, but I think it was worth the $20. All in all we had a fun night together. I am glad we went to Zoolights.

Tuesday, December 19, 2006

Star Book Tutorial - HOT OFF THE PRESSES!

Okay, so bazillions of you are asking for a tutorial on how to do the star book ornaments, and because I love y'all so much -- here it is (sorry some of the photos are a bit blurry, I am tired and was in a hurry, so they did not come out perfect -- but Merry Christmas all the same):

Ingredients:

*1 (or maybe 2 if you want variety) sheets of double sided 12x12 paper
*2 squares of cardboard (panty hose cardboard is about the right thickness) cut into 2 inch x 2 inch squares (sometimes I add an eighth of quarter inch on these, try it once one way and if you prefer it a little bigger, go ahead and make it bigger)
*adhesive
*ribbon
*beads (the cheap ones from walmart that are a little big big and ugly -- but not in this case)
*terrifically tacky tape (or similar)
*Any embellishments you may want

STEP 1

Choose which side of the paper you want to use for the cover and what will be used for the inside. Cover your 2 inch squares with the paper you choose for the cover -- (Remember you can click on any image to see the larger version and then use your browsers back button to return to this tutorial).


STEP 2

Take a sheet 12x12 paper and cut it into at least 5 (that is all you will need, you might have leftover) pieces that measure 4x4 each (also know as about double the size of your cover). Then fold those pieces in half, open, turn and fold in half the other way. Then fold on the diagonal both ways in half -- opening in between each fold.


STEP 3

Take two diagonal folds and fold them inward and then allow the other pieces to fold (easier to see in a picture -- super hard to describe - two views to help you get it). It will make your 4x4 squares turn into 2x2 size squares that look like a little frog almost . . . Repeat this on all the 5 sheets of 4x4 paper.


STEP 4

Take the ends where the paper is folded into a point and put them all together in a stack with those ends together. Then use adhesive to stick them together -- on the in-between layer. Set aside.


STEP 5

Place ribbon across cover creating a loop that will serve as a hanger at one end, and leave enough ribbon at the bottom where there are two open ends, to add the bead and leave space to tie a knot, so that when you flip the book, you can use this as a hanger.


STEP 6

Place sticky strip on one cover piece, peel and adhere star book to cover. Repeat with second cover piece at other end.


STEP 7
Flip book into star formation. You will have your two loose ribbon ends hanging down. You are going to thread these through your bead. After the bead is on the ribbons, tie a knot in the end of the ribbons.


STEP 8

Embellish cover to suit your occasion. Or, if you got confused before this point, send me an email and I will reply as soon as I can. I hope you get it though. Good luck!


NOTE: To flip the book, you are going to put the two covers against one another and then slide your bead down to secure it in the star position. Can be hung on a christmas tree in either way.

I learned how to make these while I was in El Paso, TX at a get together earlier this year. These are what Tracy T did for her swap. I hope you enjoy it.

Painting is FUN, in small doses.

So as you know we decided to try to get painting done before Christmas. I decided to take a minute and post a couple pictures of the room (apparently my camera decided to suck and forgot to tell me). I used BEHR paint and was satisfied with the results after three coats on the red wall. The red was called "Red Red Wine (S-H-130)" and the neutral color is called "Toasted Wheat (280E-3)." I really like the warm feeling it gives the room. I also love the contrast of the black frames and white mattes on the bright wall. Anyway, be brave, be bold and paint something a bright color, it is FUN!

I really like the works of Vettriano, so I decided to put three of them on the walls in this area. The three pictures I have are in there are: The Singing Butler, Dance Me to the End of Love, and Waltzers. M also has a "space" - kind of an office - in this area, so he is going to put up a couple of posters there. I think his posters (framed I might add) will work in his area in this room. His posters all have a golden coloring that I think will match so well. Oh, and speaking of golden . . .


Here is my bathroom that we painted the weekend before. The color is a yellow -- kind of mellow, warm yellow . . . golden. I love how it turned out. The camera did not get the colors perfectly true, but this is close. I really like my bathroom. The bathroom also has a Vettriano print in it -- called "Elegy for a Dead Admiral"

Okay, so the kids are still asleep, so I am going to put in some time on the starbook tutorial (shhhh, don't tell anyone because I am supposed to be cleaning toilets and washing sheets and such in preparation for my mom's arrival tomorrow) and hopefully I will be able to post it later today or tomorrow . . . check back.

Monday, December 18, 2006

SIMPLE and YUMMY

Okay, so time is going WAY too fast. Seriously, my mom gets here at 1 pm on Wednesday, which means I have today and tomorrow to clean, decorate and make some treats. I got this awesome recipe from the girls on the Fawanda thread on SCS -- and they turned out YUMMY!!!!

They are really addictive. These ones were made with candy cane kisses and mint M&M's and I made another batch with caramel kisses and the mint M&M's. The caramel ones are not as pretty as the oozed out, but they taste amazing!!!! Anyway, need a quickie treat -- this is it!!!

Cookie Swap/Catastrophe/Raspberry Swirls

I don't know about you, but I love holiday baking (well, when I am not rushed and it is just for fun). This year M has a cookie swap at work that he would like us to participate in, so I had to find a recipe that sounded fun to make (I have to have 4 dozen cookies). I decided on this on and thought I would share it with you because some of you may have a cookie swap or something and still be in search of the perfect recipe.

UPDATE: Oh, and M made his cookies this year all by himself. Well, almost until this morning when he hit catastrophe and they stuck to the wax paper on the pan . . . lol -- then I made some regular good old sugar cookies for the rest of the cookies. Apparently one of the homosexual men at his office claimed my basket of cookies cause he thought it looked pretty! YAY! I win!

Anyway, to the recipe:

RASPBERRY SWIRLS

1 cup butter, softened
2 cups sugar
2 eggs
1 tsp vanilla extract
1/2 tsp lemon extract
3-3/4 cups all purpose flour
2 tsp baking powder
1 tsp salt
1 jar (12 oz) seedless raspberry jam
1 cup flaked coconut
1/2 cup chopped pecans

In a mixing bowl, cream butter and sugar. Add the eggs and extracts; mix well. Combine flour, baking powder, and salt; add to cream mixture and mix well. Cover and chill the dough for at least 2 hours.

Divide dough in half. On a lightly floured surface, roll each half into a 12 x 9 inch rectangle. Combine jam, coconut and pecans; spread over rectangles. Carefully roll up, starting with the long end, into a tight jelly roll. Wrap in plastic wrap. Refrigerate over night or freeze for 2-3 hours.

Cut into 1/4 inch slices; place on greased baking sheets. Bake at 375 degrees F for 10-12 minutes or until lightly browned. Cool cookies on wire racks. Yield: 8 dozen.

Saturday, December 16, 2006

GOT RIBBON?

So I decided to get in on an order of grosgrain ribbon that Jody was doing. I took a half spot, and so I got 5 yards of 30 different colors of ribbon. SO COOL! I was so excited when it arrived. It is wonderful. Now I just need to make it to the local stamp store to get some cards to wrap them on. Now don't be jealous, but do feel free to drool! What a merry christmas. I also got in on an order of Prima flowers a friend was doing and might get those before christmas too! YAY! I will show them off as they arrive.

Wednesday, December 13, 2006

What's For Dinner Wednesday -- Ooops

I almost neglected you on What's For Dinner Wednesday again . . .

Well, to be honest, M and I are still working on getting our rooms back to normal. We finished painting the livingroom, diningroom and kitchen. We still need to do the library. E and J have come down with a cough and cold. So, I am dealing with two cranky children while I try to get all the painting and cleaning and decorating and food prepared and done for Thursday(aka tomorrow - YIKES). Tomorrow is the ornament class, so here I am up at 11 pm, working on getting everything clean and tidy. Anyway, tonight for dinner we had KFC. But, here is a quick and easy meal idea, inspired by KFC for you to try:

Wannabe KFC Bowls

Have you seen the bowls they have at KFC? They actually do taste really yummy. Here is how we make them at home. Still super fattening, but tastes so yummy! Mmmmm!

1/2 bag of popcorn chicken (the frozen kind)
1 can corn
3-4 potatoes, cooked and mashed
1 pkg instant chicken gravy, prepared
shredded cheese

Layer potatoes in bowl. Sprinkle popcorn chicken on top. Then sprinkle corn on top. Top with cheese shreds. Pour warm gravy over entire bowl and serve and enjoy.

I promise to update you on Friday and show off some of the stuff I have made. Tomorrow will be WAY too hectic to check in. Hope you are enjoying your busy holidays and are safe, happy and healthy.

Monday, December 11, 2006

Time is running out . . .

Wondering where I am??? Well, M and I decided that we wanted to get the downstairs and the loft painted before my mom and my inlaws come to visit us over christmas, so I have been painting up a storm. My mom arrives on the 20th, which leaves me *gasp* only 9 more days to get it done. I will post some pictures of the room so far -- I am in the middle of painting a red wall, so when you see the nasty pink primer .. . don't snicker too hard . . .

I promise I will get back to stamping soon -- maybe even late tonight -- because I have to come up with a card design for a stamp class/christmas ball class on Thursday night . . . so I need to get crackin'

Anyway, just wanted to keep you updated so you all don't start to worry and think I am in trouble or that I got sick or at the very worst, my stamp room burned to the ground. *smiles*

Thursday, December 07, 2006

Have you FINISHED yours yet???

I am by far the biggest slacker ever. I want to send out Christmas cards to all my friends and family, but they are SO time consuming and repetitious, I just don't know if I can make it through. A couple nights ago I worked on a set of 12 cards. They had lots of paper piercing involved and I actually gave myself a blister on my thumb. Then today when I was working on cards to go in the box I showed you a long time ago -- to send to my DDSS, I realized that I was totally out of cranberry crisp paper, or rather I misplaced it because I am pretty sure I did not use that much . . . but then again, maybe I did? Who knows? I have so many projects on the go on my desk (see photos on the side --note the great leaning tower of books, magazines, stamps and crap pile), it is a disaster and even though I am getting stuff done, slowly, it seems that it never ends. I haven't even finished my shopping for Christmas yet, and nevermind all the cards. Oh, and did I mention not only do I not have my tree up yet, but, I do not even have a tree purchased *sigh* I am so overwhelmed. I love the holidays -- so relaxing and special . . . *insert sarcastic smile here*

Anyway, I wanted to let you know that we have made it to over 200 subscribers to this blog and the day I posted the tutorial for the christmas balls, would you believe that I had over 2000 page loads that day! WOW! I am so flattered. I appreciate you all for coming and playing with me and leaving your love. I promise promise to try to get that star book tutorial up really soon. Well, before christmas at least . . .

I am also going to work on making myself a cooler banner. I do have limited photoshop knowledge so I am going to see what I can come up with. Wish me luck!

Sorry I totally missed "What's For Dinner Wednesday" yesterday. And, wanna hear what I ate for dinner? Harry and David Malt Balls and clementine oranges. Surely that is the best recipe you all have ever heard for dinner??? I'll make sure to post a quick and easy recipe next week *smiles*

Monday, December 04, 2006

Christmas Wreath

So if you have been checking in recently, you may have noticed that I have been sort of MIA. Well, that is because a couple of things have been happening with me. One was that I miscarried a baby. I was only ten weeks along, but it is still a pretty traumatic event. I am so thankful for all of my caring and concerned SCS friends who kept me on my toes and helped me to deal with things, you all know who you are.

The second thing I have been up to is I have been working on this christmas wreath. I did it in the same method as the christmas balls seen in the popular tutorial (scroll down if you missed that one). I am really satisfied with how it turned out. It took a few hours, but looks pretty neat. My hubby was admiring it last night. I used paper by "The Paper Studio" that I purchased at Hobby Lobby. I think it took a total of 5-6 sheets all in all. I found that I could cut three sheets at a time, which helped to make the cutting go a lot faster. The most time was spent folding the paper and pinning them in. Anyway, I just wanted to let you all know what was up and why I had not been posting lately. I stamped some christmas cards last night and will be working on more in the next little bit, so I am back. Thanks for being such loyal readers and thanks for all the sweet comments you leave me. Oh and thanks to you I am now in the top 50 stamping sites, I made it to number 47 today!!!!!!!!! *Cheers*

My ball making class is next Thursday. I am excited for it. I am also offering free cards at that event. I plan to make a limited number of supplies and then when those run out, that is it. Oh and cookies and cocoa should make that night perfect. I am excited. My mom and my little sister will be coming in from Canada on the 20th and my inlaws will arrive on the 22nd. Busy, busy, busy. It is going to be a lot of fun though too.

In the near future, I plan to make a tutorial for the star book ornament. So many people have been asking for that. I really want to do it, but right now, painting my house, finishing our loose laid patio, wrapping presents, christmas cards, and laundry are taking priority. As soon as I get a spare moment though, I will make that for you all.

Hope you are enjoying the busy month of December and all it has to offer.

Friday, December 01, 2006

Gingerbread Cookies (from Wilton)

So I was surfing the internet today and I came across this recipe for gingerbread and it sounded yummy and E has been bugging me to bake gingerbread men with her, so this year for Christmas, we are going to do it, using this recipe. You should try it too and tell me how your cookies turn out.

Ingredients:

5-5-1/2 cups all-purpose flour

1 teaspoon baking soda

1 teaspoon salt

2 teaspoons ginger

2 teaspoons cinnamon

1 teaspoon nutmeg

1 teaspoon cloves

1 cup shortening

1 cup sugar

1-1/4 cups unsulphured molasses

2 eggs, beaten

DIRECTIONS: Preheat oven to 375° F. Thoroughly mix flour, soda, salt and spices. Melt shortening in large saucepan. Cool slightly. Add sugar, molasses and eggs; mix well. Add four cups dry ingredients and mix well.

Turn mixture onto lightly floured surface. Knead in remaining dry ingredients by hand. Add a little more flour, if necessary, to make a firm dough. Roll out on a lightly floured surface to a 1/4" thickness for cut-out cookies.

If you're not going to use your gingerbread right away, wrap dough in plastic and refrigerate. Refrigerated dough will keep for one week, but be sure to remove it 3 hours prior to rolling so it softens and is workable.

Dip cutters in flour and cut. Remove excess dough. Make features with pastry tips and small cutters.

For ribbon tie, cut two holes with a drinking straw side by side at neck. Bake 6-10 minutes or until lightly browned. Re-pierce hole if needed. Let cool on sheet for 2-3 minutes. Remove carefully with large spatula. Cool on wire rack. When cool, thread ribbon through neck and tie. Gingerbread easily absorbs humidity; store in a cool dry place.

Makes approximately 40 cookies

Wednesday, November 29, 2006

What's For Dinner Wednesday - Barbecue Chicken Casserole

This sounded yummy, I have not tried it yet, it is a new to me and you one . . . let me know how it goes! Hugs, Amanda

Tonight for Dinner: Barbecue Chicken Casserole
Ingredients
  • 1 cup all-purpose flour
  • 1 broiler/fryer chicken (3 to 4 pounds), cut up
  • 2 tablespoons vegetable oil
  • 1 cup chopped onion
  • 1 cup chopped green pepper
  • 1 cup thinly sliced celery
  • 1 cup ketchup
  • 1/2 cup water
  • 3 tablespoons brown sugar
  • 3 tablespoons Worcestershire sauce
  • 1/2 teaspoon salt
  • 1/4 teaspoon pepper
  • 1 (16 ounce) package frozen corn, thawed

Directions
  1. Place flour in a large resealable plastic bag. Add chicken, a few pieces at a time, and shake to coat. In a large skillet, brown the chicken in oil; transfer to an ungreased 13-in. x 9-in. x 2-in. baking dish.
  2. Drain skillet, reserving 2 tablespoons drippings. In the drippings, saute onion, green pepper and celery until tender. In a bowl, combine the ketchup, water, brown sugar, Worcestershire sauce, salt and pepper; add to vegetables. Bring to a boil. Pour over the chicken.
  3. Cover and bake at 350 degrees F for 30 minutes. Sprinkle with corn. Bake 18-20 minutes longer or until chicken juices run clear and corn is tender.

Tuesday, November 28, 2006

A funny

I was browsing another site and came across this. Hope you all like it. Happy Tuesday!

The Secret World of Scrapbooking

I have some pages I did in the last couple of days that I need to upload, but no time to do that . . . so, maybe tomorrow . . .

I read this thought today and I really like it:

We are not the same persons this year as last; nor are those we love. It is a happy chance if we, changing, continue to love a changed person. -William Somerset Maugham, writer (1874-1965)

Monday, November 27, 2006

Jody's Swaps - November

So I was a little late on sending this month (so what's new?) Seriously, that is why I cannot be on a design team for anywhere, I have issues with deadlines. I don't mind being early or late, but rarely on time.

The first thing I made for Miss Jody, was some CD's of awesome Christmas music I have collected. I dressed them up all pretty and I think they turned out cute. I used that Michael's snowflake stamp -- which has proven to be a favorite, in spite of its $1 cost. Seriously, I hear about people stocking up on $1 stamps and never using them, but I have to say, that is not me. I love them all -- all stamps deserve a little love!!!

This second project is three panels of a coaster frame. Yes, I just had to get in on that coaster deal on SCS. I mean, how cool are blank coasters. As usual I did not go over the top though, and I just got 50. I like them. I did add hinges in between so this little frame can stand on its own. The photo corners are in place and ready for Jody to add adorable Christmas pictures of her three adorable kiddies.

Talk about a pain in the patootie. This ornament gave me so much trouble. I had done glass etching before, but for some odd reason, it was not etching very smoothly this time. SO, I ended up etching the whole surface to get a more uniform look, and then embossing snowflakes in silver on the front and back. Then I added a white ribbon and silver ribbon on the top and it was done. I really hope Jody likes this one. It is sent with much love. It seriously was stressing me out bad. I had to walk away from it numerous times to keep from throwing it across the room. The ornament blanks came from Michael's and were fairly inexpensive. I plan to make more, I just hope that the etching cream works better. I will have to go on a search on SCS and see if there are any new tips for me on how to make it look more uniform. I hate being a perfectionist.

This container was just a spice jar that I managed to get on sale at Michael's one day. I thought it would look cute etched. I used the etching cream on this and it did etch smoother, not sure why. First I embossed the image from SU "Happiest of Holidays" and then put the cream on and let it sit, and then rinsed and scrubbed off the embossing powder with my fingernails (no small task considering - brace yourself, this is yucky la la - I bite my nails.) After the etching was done, I dressed it up a little with some paper and ribbon and added the M&M's. A yummy little christmas treat.

This grand finale was inkspired by all the cool clear cards I saw in the Christmas issue of papercrafts. I just had to try one for myself. I think it turned out cute, but I still am not sure if I like transparency cards because I am not sure where to write a message on them other than the sentiment.

I used SU designer series paper. I embossed the snowflakes (that stamp from Michael's again) in silver embossing powder. At first I was a little afraid of doing this -- scared the transparency would melt, but I had the right kind. I also worked fast to make sure it would be okay. I added silver ribbon across the top to perk it up!

I really hope Jody likes all the stuff I sent her. I also sent a little "spread love not cooties" hand wipe funny, and some emergen-C. Jody has been a little sick (understatement of the century) so I am hoping that will help her feel better.

Friday, November 24, 2006

Draw from my 100 first subscribers . . .

Drum roll please . . . .

And the winners are . . .

artfullyinking at comcast.net


and

memorygarden at cox.net

If both of you would email me your private information, I will send you your prize. I decided that this will include, a christmas ball, some gift tags, some candy and some sort of embellishment, still TBD (aka, I did not make it to Hobby Lobby yet today). Thank you all for your support by subscribing to my blog.

If you are interested in how the winners were chosen: I took the list of the first 100 subscribers and messaged my DH and told him to tell me 2 numbers between 1 and 100. Then I counted subscribers, not including the anonymous ones, until I got to the numbers he gave me, which were 17 and 74! Thanks for playing!

It's HERE!!!!!!! Tutorial for Pinecone Balls

UPDATED: For all of you interested in winning a kit to make these balls -- go HERE by December 1st, 2007 to enter to win!!!!!

HAPPY BLACK FRIDAY -- So you missed the greatest deal ever because you were too far back in line -- never fear, I am here to help your day get better!!!

Okay, due to the overwhelming demand for directions, I decided to do this a little earlier than I planned because SERIOUSLY you guys are all overloading my email box. I really hope you "get" them and that at the end of this tutorial you all will be happily playing with your pretty christmas ball. Bear with me, this will be my first time ever doing this . . .

INGREDIENTS:

1 sheet of 12x12 paper (or a couple if you like)
1 three inch foam ball (white foam kind)
1 package of pins (I use Applique pins - 19mm - you can get these at walmart)
1 length of ribbon (I prefer wide SU organdy)
1 thimble
1 paper cutter

STEP 1
Choose your paper(Mine is by K&I Memories). Small prints or loud paper work best when choosing which paper to use. As I learned with this one, white is not always the best color to have in the background. Once you have decided, cut the paper into 1 inch x 2 inch pieces (rectangles), the entire sheet.


STEP 2
Fold your papers to make a point (see picture). Both corners meet in the middle.


STEP 3
Pin points down on center of ball. Put all points together. Folds should be on the underside where they cannot be seen.


STEP 4
Pin down the other corner points on this first row, so that all three points of each triangle are pinned in on the first row. You will ONLY do this for the first row.


STEP 5
Begin row 2 by pinning down the two ends (not the main point) You center the main point on one of the lines, so that the base of the triangle is offset to the original pinned row. Then leave the point unpinned (this forms the pinecone like look) and pin down two other sides. Repeat this row over and over until you reach the halfway point (clear as mud? Maybe the pictures will help - I hope . . . )


STEP 6
At the halfway point, pin in your ribbon. I like to stick about 4 pins on each end. If you pin the ribbon in now, leave enough at the top to form a hanger. You are going to continue to work the paper over the ribbon, which will make it secure.


STEP 7
Continue rows up until you reach the top. As you near the top, it will become increasingly harder to push the pins into the ball and through your papers -- this is where that thimble comes in handy. You will also probably run out of paper as you reach the top, or if you used 2 sheets of 12x12, will have used up 1/2 of each sheet.


STEP 8
Tie bow at top and add any extra ribbon you would like. "Pretty it up" You are done. Hang ball on your tree and enjoy. If you have any questions, please post them in the comments section of this post and I will reply to them in that location. This will keep me from getting a bazillion emails asking the same questions. Thanks *smiles*